Sandblasting Paint Surface Preparation
Sandblasting Paint Surface Preparation
Sandblasting is an important step in painting because it helps to ensure that the new paint will adhere properly to the surface. If you don’t sandblast first, there’s a chance that the fresh paint will chip or peel soon after you apply it. Any dirt, grime, or rust left on the surface can prevent the new paint from adhering properly.
In addition to helping the new paint adhere better, sandblasting provides a smooth surface for painting. This is because sandblasting removes any roughness from the surface of the metal. As a result, the new paint will have a smooth, even finish.
How to Prepare a Painting Surface with Sandblasting
Now that you know what sandblasting is and how it works, let’s go over how you can use it to prepare a surface for painting. Here are the steps you’ll need to take:
Choose the Right Abrasive Material– As we mentioned before, many different types of materials can be used for sandblasting. You’ll need to choose one based on the type of surface you’re working with and your personal preferences. For example, if you’re working with delicate surfaces, you’ll want to use an abrasive material like glass beads or aluminum oxide. These materials are less likely to damage delicate surfaces than something like sand or steel shot.
Set Up Your Sandblaster– Once you’ve chosen your abrasive material, it’s time to set up your sandblaster. You’ll need to fill the tank with your chosen material and connect it to an air compressor. Make sure all of your hoses are securely attached to prevent leaks. If renting a sandblaster, ensure you understand how it works before using it.
Protect Yourself– Sandblasting can be dangerous, so you must take proper safety precautions before beginning your project. First, you’ll need to put on protective clothing, including gloves, goggles, and a respirator mask. You should also cover any areas of your body that expose your skin, so you don’t get hit by flying debris. Next, you’ll need to protect any areas around your work area that you don’t want to be damaged by flying debris. Cover windows and doors with plastic sheeting and tape them off, so they don’t get blown open by the force of the blaster. Finally, make sure anyone else in the area knows what you’re doing and knows to avoid coming near while you’re working.
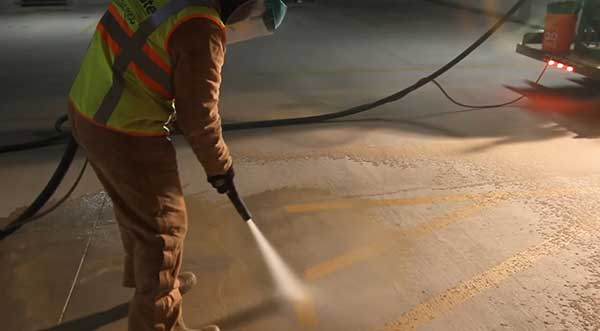
Begin Blasting – Once you’ve taken all the necessary safety precautions, you’re ready to begin blasting! Start by testing your blaster on a small area first so that you can get a feel for how it works and make any necessary adjustments before moving on to larger areas. When ready, hold the blaster about six inches away from the surface and move it back and forth in even strokes until the entire area is covered. Remember to keep moving so that you don’t blast any one spot for too long or too hard—you could damage the surface if you do!
Inspect Your Work– Once you’ve finished blasting the entire area, take a step back and inspect your work. Make sure that all the paint has been removed evenly and that there are no bare spots where paint might still be clinging on (these spots will show through once the paint is applied). If everything looks good, congrats! You’ve successfully prepared your painting surface using sandblasting!
Clean Up Your Area– Before calling it quits for the day, remember to clean up your work area! This includes sweeping up any loose debris lying around and disposing of it properly (check with your local waste management facility for guidance on how best to do this). You should also rinse off any areas around your work site that might have been hit by flying debris during blasting—this will help prevent accidents later on down the road when people are walking around unaware of potential hazards lurking beneath their feet! And there you have it—a complete guide on how to prepare a painting surface using sandblasting!
The Benefits of Sandblasting for Paint Surface Preparation
Sandblasting is a process of propelling excellent bits of material at high velocity against a surface. It is commonly used to clean surfaces or remove coatings and paint. Sandblasting uses several media types, including sand, glass beads, steel shot, or aluminum oxide. When used for paint surface preparation, sandblasting has many benefits.
Sandblasting provides a superior paint finish by creating a profile on the surface that allows the paint to grip better. This increased paint adhesion results in a longer-lasting finish. In addition, sandblasting can remove contaminants that can interfere with the paint’s ability to adhere to the surface, such as oil, grease, rust, or scale.
Sandblasting is also an effective way to remove old paint from a surface. This is important because old paint can contain lead which can be harmful if ingested or inhaled. Lead-based paint should always be removed by a professional trained to do so safely.
Finally, sandblasting provides an excellent key for new paint, meaning the new paint will have something to “bite” into for superior adhesion. This is especially important for surfaces that will be exposed to high wear and tear, such as machinery or vehicles.
Jet Blasting Systems should be your go-to choice if you’re looking for a reliable sandblasting contractor to help you prepare any surface before painting it. Our experienced team of professionals can help you with any project, large or small – from cars to boats to industrial machinery – we have the knowledge and experience needed to get the job done right while providing superior service every time. Don’t trust just anyone with preparing your surfaces; contact Jet Blasting Systems today!